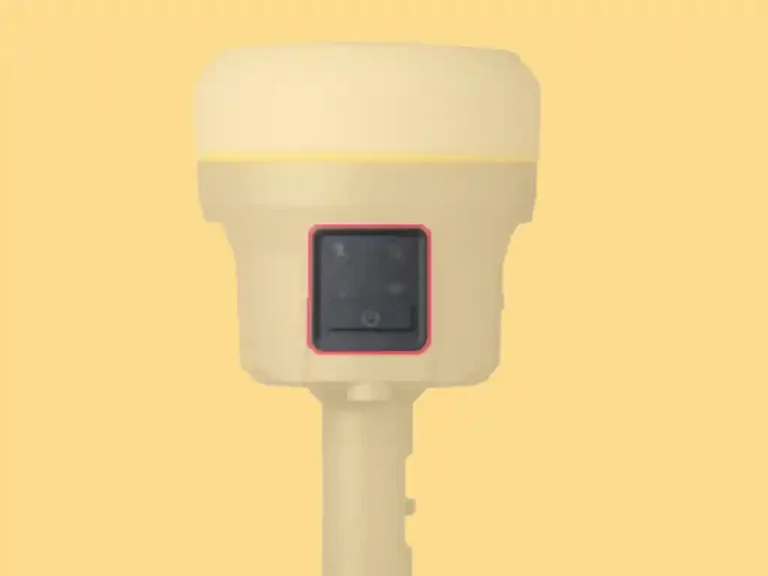
To remove the internal battery from the receiver you will need a Torx screw driver (size T10) and a phillips screw driver. Ensure all cables have been disconnected from the receiver and you are in a place where dirt and contaminants will not get inside the receiver when you open it up.
Battery Removal
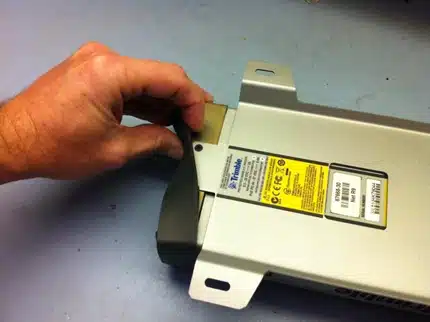
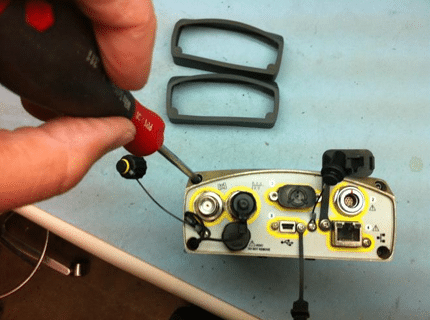
If the mounting bracket is still attached, remove the rubber end guards to expose the connection screws. Remove the screws on both ends.
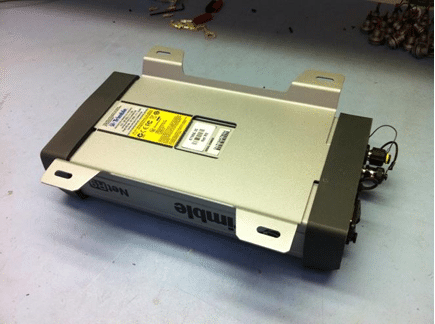
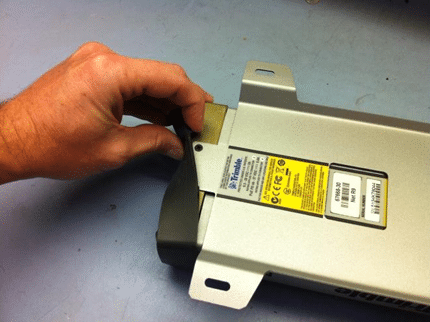
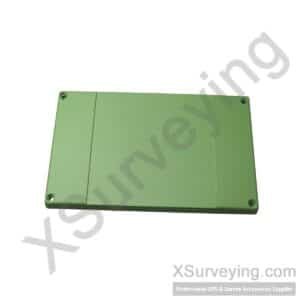
Next, using your torx screw driver remove the 4 screws holding on both the front and back end caps.
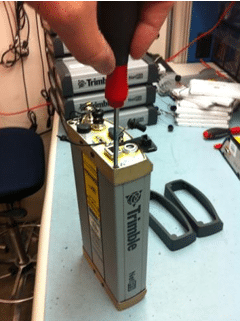
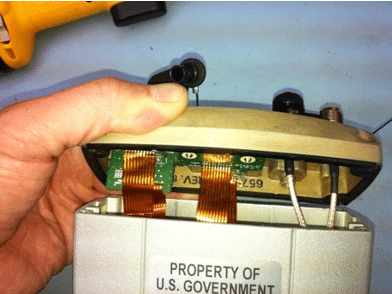
Once the retaining screws have been removed, very carefully pull the back end cap away from the body of the receiver. Inside you will see a set of two wires (one red and one black) connected from the battery to a white connector. You will need to disconnect the connector from the receiver by pulling it straight out.
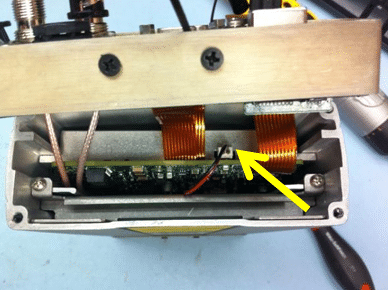
After the battery has been unplugged remove the 2 battery retaining bracket screws.
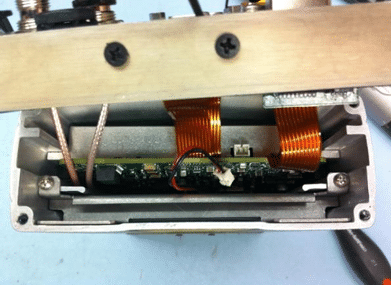
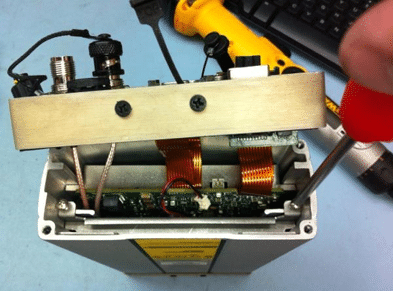
When the bracket has been removed go to the other side of the receiver and open the end cap. You will need to push the battery from that end toward the back, it is a fairly tight fit. When the battery is exposed enough through the back of the receiver you can pull it the rest of the way out.
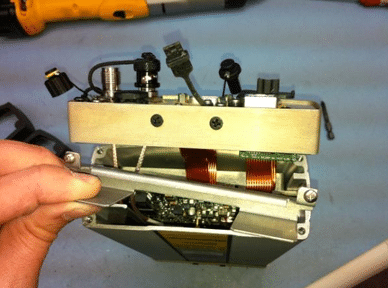
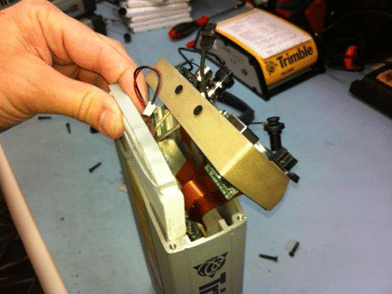
When the battery is out, be sure to reinsert the battery retaining bracket into the receiver with the 2 screws. Now you are ready to reattach the end caps of the receiver. Be sure that the rubber gaskets are properly seated in their grooves as you are fitting them back on the receiver.
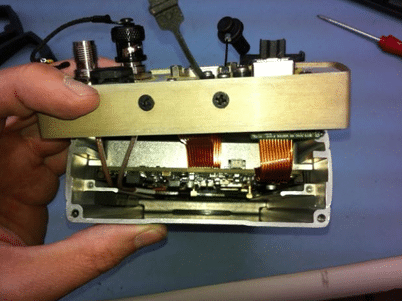
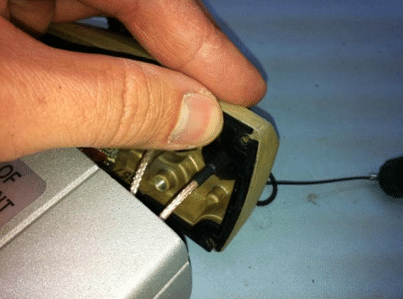
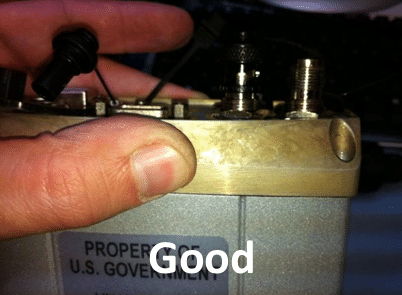
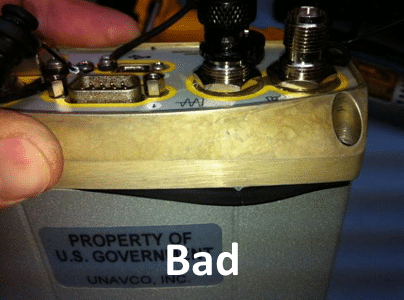
When you are reinstalling the end cap screws be sure that the gaskets are not exposed between the connection. Once the screws are back in the end caps, you can put the mounting bracket and rubber end guards back on.
The above document is from Unavco.org website.