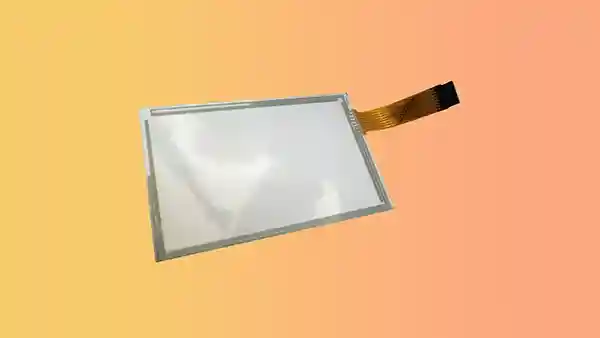
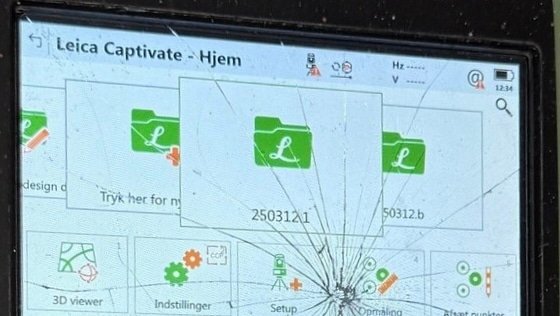
We provice the Touch Screen Replacement Services and some tips or instruction about the Service of Touch Screen Repair or replacement.
Available for Sale:
- Agleader Insight
- Trimble FMD
- Kinze Vision
- New Leader Fertilizer Spreader Display
You can ship your display to us, and we will replace the touchscreen. You only need to cover the round trip shipping costs.
Other Replacement Touch Screens Available:
- Ag Leader Versa Touch Screen
- Trimble FMX FM-1000
- Trimble CFX/FM 750
Instructions:
Tools Required:
- T15 Torx Bit
- Phillips Screwdriver
- Side Cutter (to remove zip tie from the 9-volt battery)
Steps:
- Remove the memory card from the side of the display.
- Use the T15 Torx bit to remove all 9 screws from the back.
- Use the Phillips screwdriver to remove the 4 screws around the power plug.
- This is a good time to replace your rechargeable 9-volt battery.
Use a side cutter to break the zip tie if necessary.
You can buy an identical replacement battery on eBay by searching “GP 170 9 Volt” or model number “GP17R8H.” - Push down on the black tab to unlock while unplugging the power cable from the motherboard. This allows you to get the back enclosure out of your way.
- Pull the touchscreen/digitizer ribbon cable straight out.
- Remove all T15 Torx screws.
- Lift the assembly away from the front bezel.
- Clean and wipe any dust and debris from the front bezel.
- Place the new touchscreen inside the front bezel.
Align the edges of the touchscreen with the tabs.
Ensure the ribbon cable is positioned correctly to reconnect to the motherboard.
The gasket around the touchscreen should face down against the front bezel. - Carefully pry the defective touchscreen away from the assembly.
It is held by adhesive tape around the edges.
Gently pry evenly around the touchscreen until it releases from the adhesive.
Leave the adhesive tape intact.
Once the defective touchscreen is removed, place the assembly in the correct orientation on top of the front bezel and tighten all the Torx screws evenly.
Reinsert the touchscreen/digitizer ribbon cable, ensuring it is pushed in all the way.
You will feel resistance when inserting it, indicating it is fully inserted. - Plug in the yellow power wire and reinstall the back half of the enclosure.
- Tighten all Torx screws evenly, along with the 4 Phillips screws around the plug.
- Reinsert the memory card and power on the display.
- Go to Settings > Console > Calibrate Touchscreen and follow the steps.
Getting to the calibration menu can be tricky since the new touchscreen won’t be calibrated.
You may need to press “blindly” around the screen until the touchscreen recognizes the button you wish to press.
A pencil eraser tip or stylus pen can help during calibration.
You might have to press an inch away from the desired button until calibration is complete.
Once done, it should work like new.
These instructions are designed to help you build confidence in performing this task.
However, we are not liable for the success of the installation.
If you prefer, we can perform the installation for you, but you will need to cover the cost of shipping both ways.


